


Table of Contents
Turn the Main knob to RUNDoes RAIN SWITCH display while in the RUN position?The Controller Fuse May Be BlownMaster Valve May be DisabledElectrical System Needs AttentionValve Short AlertValve No Connect Alert“My controller is programmed correctly, but the stations are not irrigating.”
You’ve checked your programming, and it seems to be running correctly; however, your stations are not coming on, and your plants are not getting the water they need. Here are some ways to troubleshoot and fix the problem.
Turn the Main knob to RUN
Check the “Date” and “Time” settings. Be sure they are correct. If the date is wrong, the controller will not be in sync with the actual date, which may cause valves to not operate on the correct days. If the time is wrong, the controller will not be in sync with the actual time, so valves will not operate at the correct time.
Does RAIN SWITCH display while in the RUN position?
If “RAIN SWITCH” displays, your rain sensor is active and is blocking the operation of the controller. If no rain sensor has been installed, check the sensor terminals, there should be a jumper wire between them for proper operation. Re-install a jumper wire if it is missing.
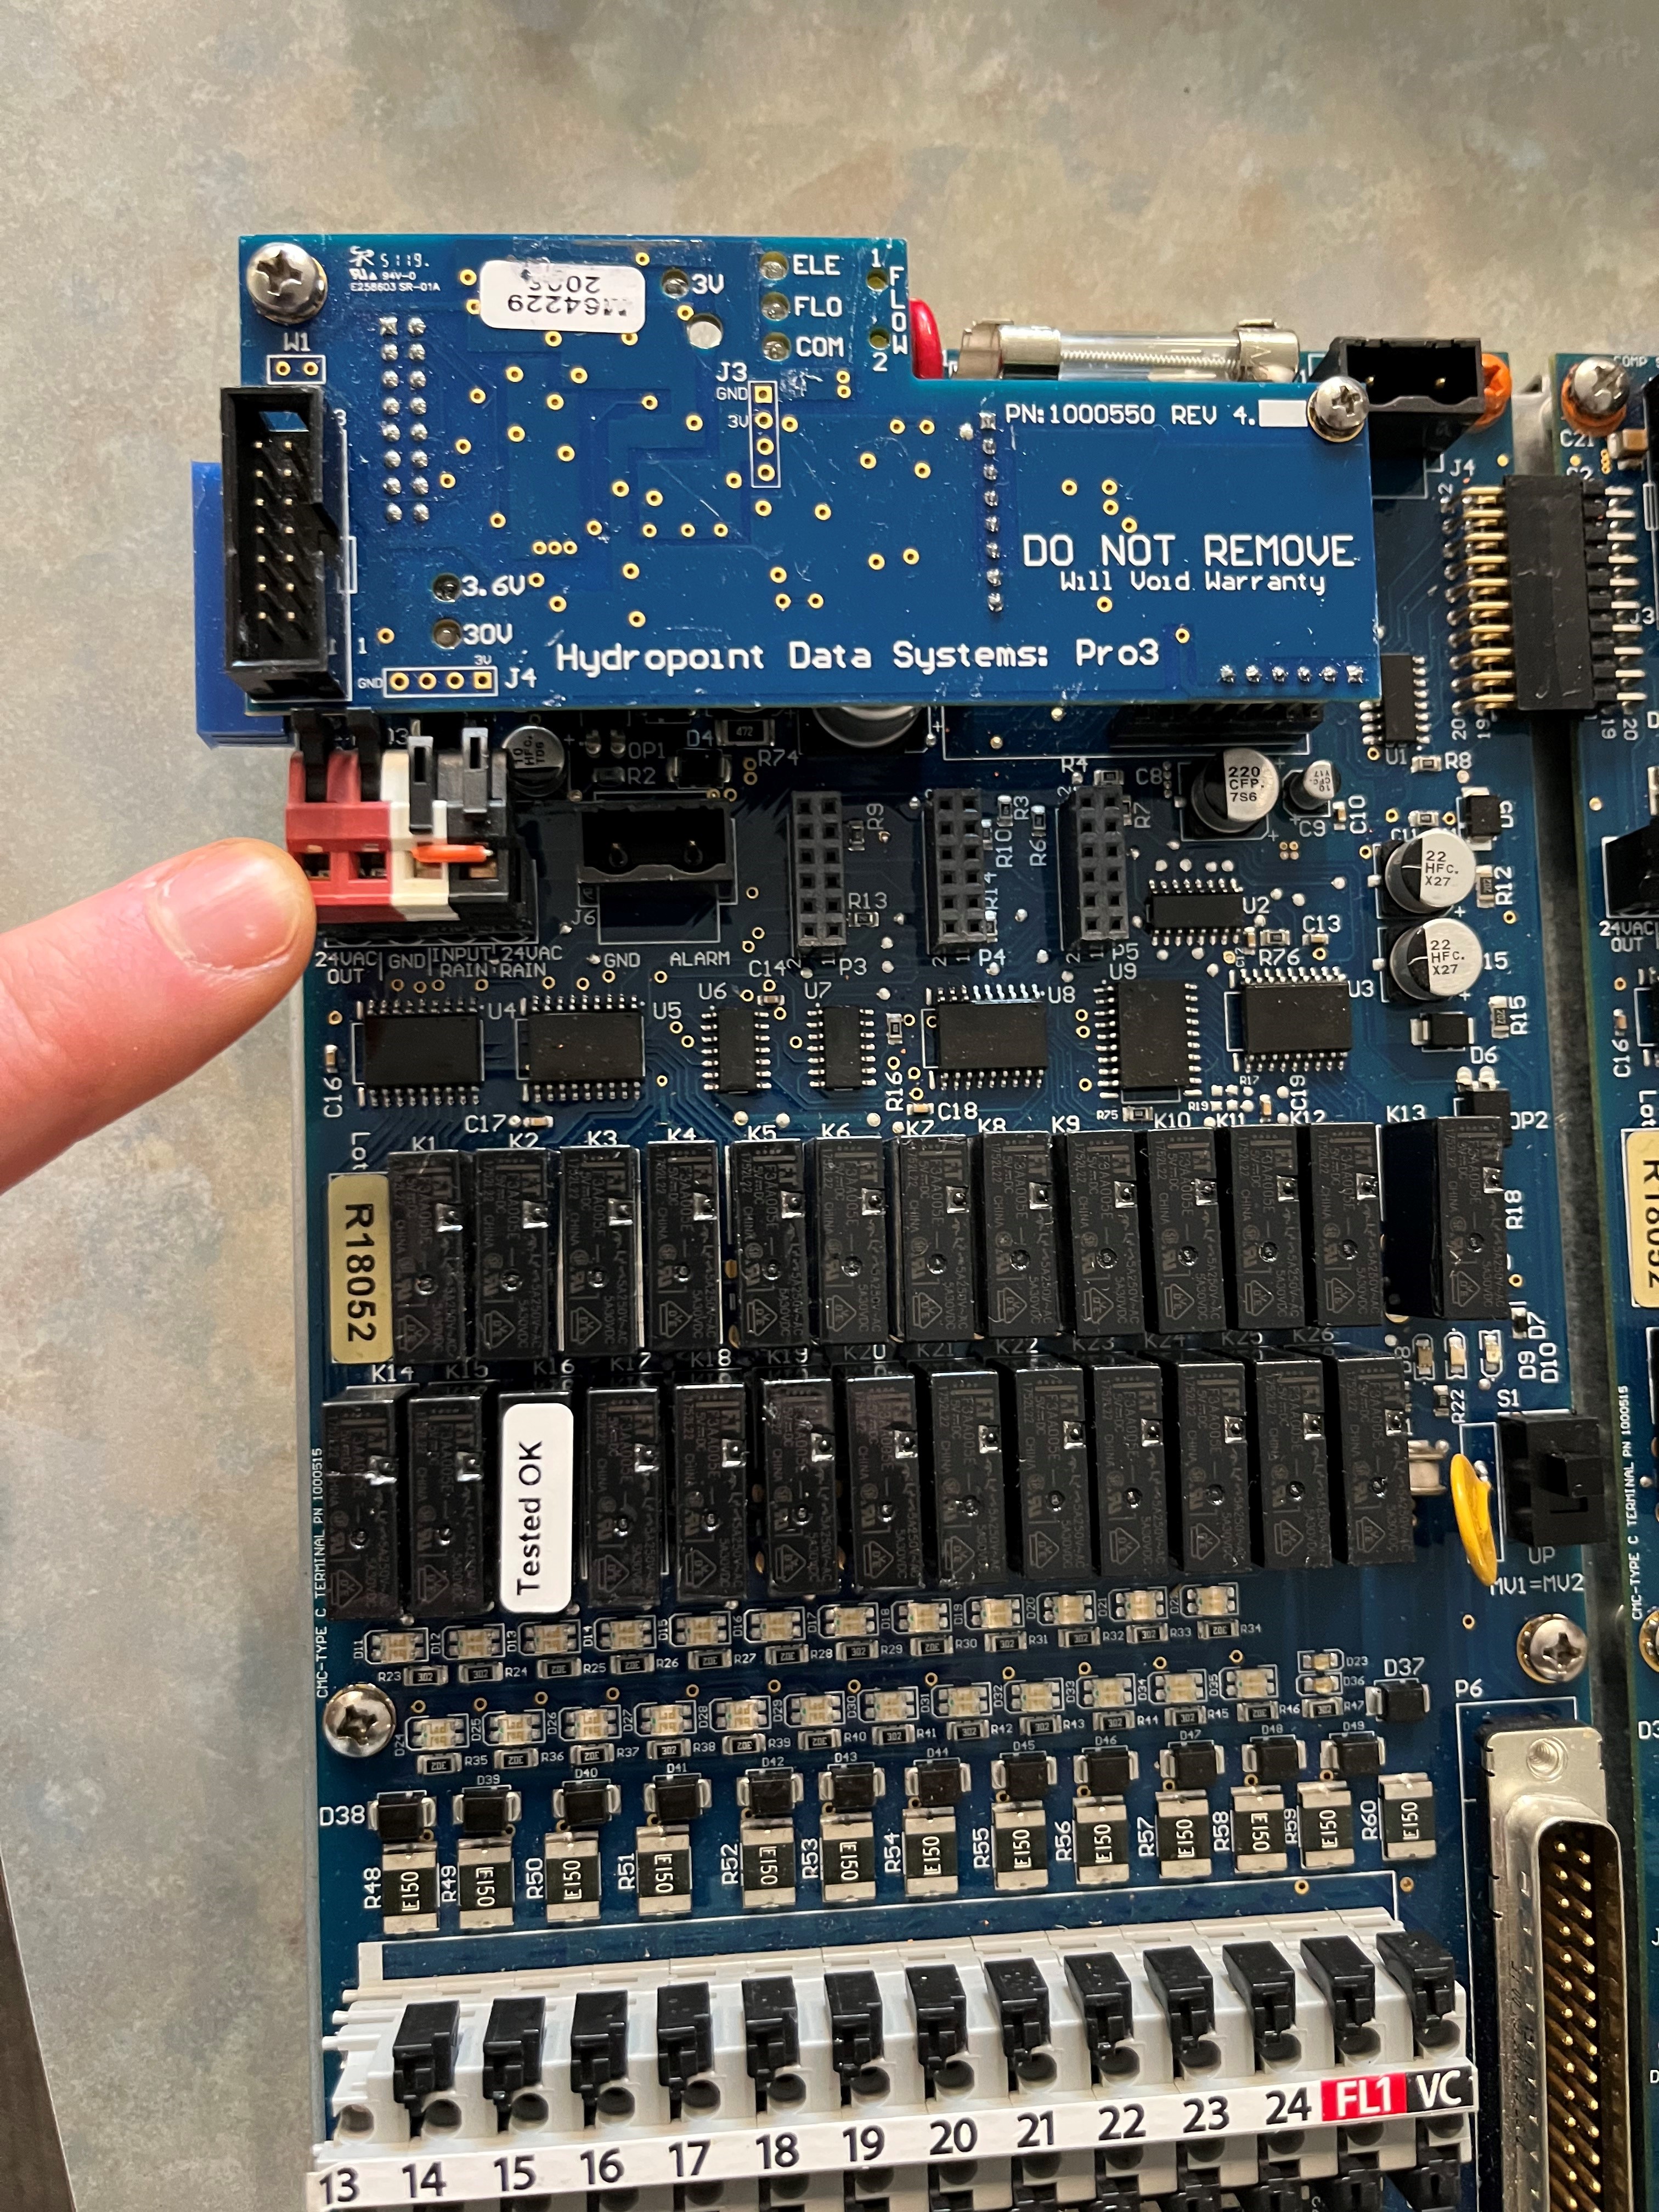
The Controller Fuse May Be Blown
Replace the fuse. A replacement fuse is included with each controller. Fuses are also available from WeatherTRAK distributors. You can also pick one up from your local hardware store. Look for a 2amp, 250V slow blow “time delay” fuse.
Master Valve May be Disabled
If you are using a master valve, ensure that it has been enabled during set-up. To enable the master valve to perform the following set of actions:
1. Turn the Main knob to set up.
2. Turn the Upper Line knob until the SET MASTER VALVE screen displays.
3. Check to see that the screens displays are enabled. If not, turn the Lower Line knob until the word enabled displays.
4. To finish, turn the Main knob back to RUN.
Electrical System Needs Attention
If your system is not irrigating, it may be an indicator that your electrical system may need attention. You may need to fix the solenoid or field wire connection or shorts in the field wiring electrical system, which caused the station to not come on. Your first step is to do a valve test. To do a valve test, perform the following actions:
1. Turn the MAIN knob to RUN.
2. Turn the Upper Line knob until the Run Time Valve Test screen displays.
3. Use the Lower Line knob to ensure that the Run Time Valve Test function is set to ON.
4. Turn the Upper Knob until the Run Valve Test screen displays. The number displayed is the number of valves that have registered a fault.
5. Turn the Lower Line Knob once.
6. Press the black COPY button located on the lower left side of the controller. Turn the lower knob clockwise to view which station(s) registered a fault.
Valve Short Alert
Sometimes you may get an alert notifying you of a valve short. In your Alerts menu, it will be abbreviated as SH. This problem is severe and must be fixed before irrigation can occur. Some possible causes for shorts are a failing solenoid or a nicked or broken wire that is being exposed to wet soil. When this type of incident occurs, the controller stops irrigation for the specific valve and raises a Valve Short alert. If the affected valve is the master valve, all irrigation will stop. If the affected valve is the pump start valve, irrigation will stop unless the controller has been programmed to exclude the pump start.
To troubleshoot and fix this type of problem, try the following:
1. Disconnect the solenoid from the field wire and conduct an Ohms test to see if the solenoid is defective. If the Ohms reading is less than 10 Ohms, replace the solenoid. Ohms testers are available from your local hardware store
2. Use a wire tracker to locate a field wire splice and replace the bad wire.
3. Look for obvious signs of site disruption that could have led to mechanical damage to a field wire. Replace the field wire.
Valve No Connect Alert
Sometimes you may get an alert notifying you of a valve no connect. The abbreviation for this is NV. This type of problem is severe and must be fixed before irrigation can occur.
Possible causes for this type of alert are as follows:
- The number of Max Active Stations exceeds the number of stations physically connected to the controller.
- A ribbon cable between station PCBs is partially disconnected or station keys are missing.
- No field wire is connected to a specific station output.
- The field wire terminated in the station output is not making proper contact.
- The field wire is broken or there is a corroded or failed splice.
The controller cannot operate this valve and will raise a No Connect Alert on the valve. If the valve is the Normally Closed Master Valve, no irrigation will occur.
To troubleshoot and fix this type of problem, try the following:
1. Reduce the number of Max Active stations in the SETUP menu.
2. Conduct an Ohms test on a field wire while the solenoid remains disconnected. If Ohms value is higher than 10 Ohms, a field wire or bad splice exists. If ohms reading on the solenoid is greater than 100, replace the solenoid.
If your stations are still not irrigating, call support at (800)362-8774.