


Steps for setting up an OptiFlow XR 2-Wire 200 Station Controller are outlined below. Please refer to the accompanying articles and manuals for complete information and instructions.
1. Install
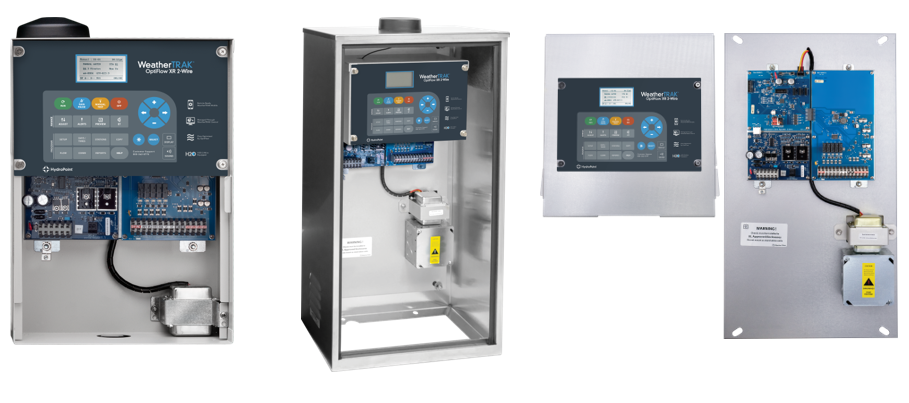
Installing the OptiFlow controller consists of mounting the controller, grounding it properly, and powering it on in a safe manner.
For complete instructions read: WT_OptiFlow XR 2-Wire H2O_200 Station_Installation Guide
2. Activate
After installing the controller it must be activated. Activation provides access to WeatherTRAK Central, the Mobile app, and daily ET updates.
To activate, call HydroPoint Customer Service at (800) 362-8774. During the activation process, make sure to communicate that the controller you are activating requires OptiFlow permission. Additionally, make sure the on-site team has their own WeatherTRAK credentials. These can be created during activation by asking the HydroPoint Customer Service team member for assistance.
To speed up the call, complete the blue activation card inside the controller before calling HydroPoint Customer Service. Controllers can also be activated on our website at: https://www.hydropoint.com/weathertrak/resources/controller-activation/.
3. Program Decoders
After you have installed the WeatherTRAK 2-wire controller, you will need to program the decoder with a station number so the controller can find these stations in the field and activate the valve. Familiarize yourself with the OptiFlow XR controller hardware then follow the step-by-step instructions for programming 2-wire decoders found in the WT_OptiFlow XR 2-Wire H2O_200 Station_Installation Guide.
Note
If pre-programmed decoders were provided, you can skip this step and install the decoders on the 2-wire path.
4. Install the Decoders
After the decoders have been programmed, install the decoders on the 2-wire path, to the desired station valves.
Follow the instructions found in the WT_OptiFlow XR 2-Wire H2O_200 Station_Installation Guide.
5. Set up the Hydraulic Tree
To learn how to set up the hydraulic tree, read: Setting Up the Hydraulic Tree
6. Test and Verify the Integrity of the System
After you set up the site’s hydraulic tree, be sure to check irrigation pressure for the “worst-case” flow scenario. This might be achieved by manually operating a station with the largest pressure loss due to pipe length, flow rate, or other factors such as increased elevation. When increasing flow rates in an irrigation system, the overall pressure loss will increase due to the hydraulics of pipes and fittings. Using OptiFlow Multi-Manual operations from WeatherTRAK Central or from the Mobile App will allow you to run up to 9 stations simultaneously (using Overlap) to assist with checking your site’s irrigation pressure.
7. Learn or Input Flow for all Stations
To learn flow in the cloud read: How to Learn Flow in the Cloud
To input flow manually read: Entering Flow Manually
8. Program the Controller and Stations
It is important to note that programming can only be done from the Mobile app and from WeatherTRAK Central. The controller cannot be programmed from the controller panel.
To learn how to program the controller and stations read:
Programming a Station
Programming a Controller